MUCHO
Designing and exploring multimodal interaction
Projekt scope
- UX design, Interactions design, XR design, Academic research
The project explores the design of a prototyping tool called MUCHO, made for designers to allow them to prototype in XR without coding. The tool serves as
a proof of concept of an XR prototyping tool with a low barrier of entry and authoring support for a variety of interaction modalities. The tool is made for quick and easy low-fidelity prototyping.
The tool is demonstrated using three different modalities: proximity, gaze + pinch and speech.
Proximity
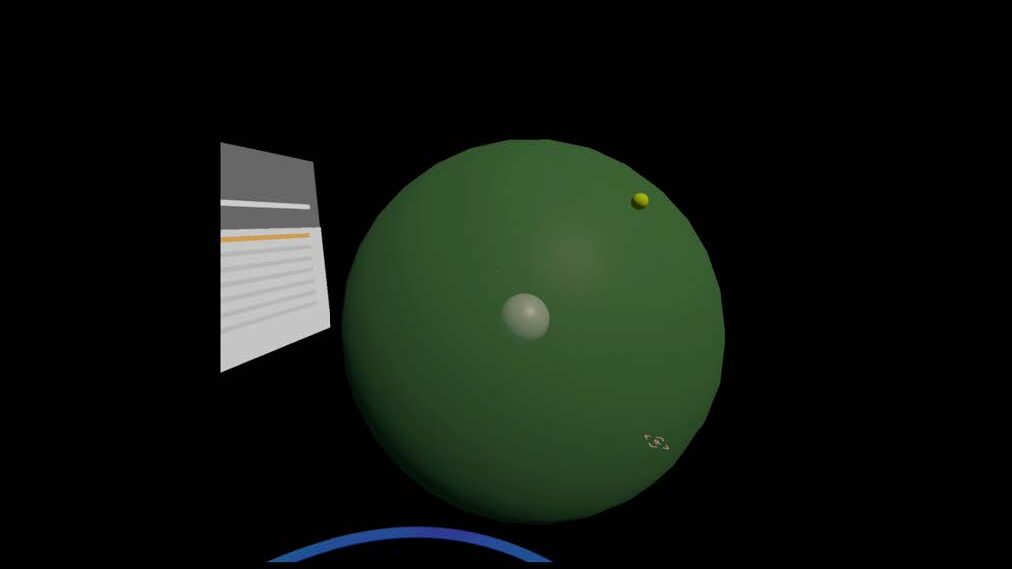
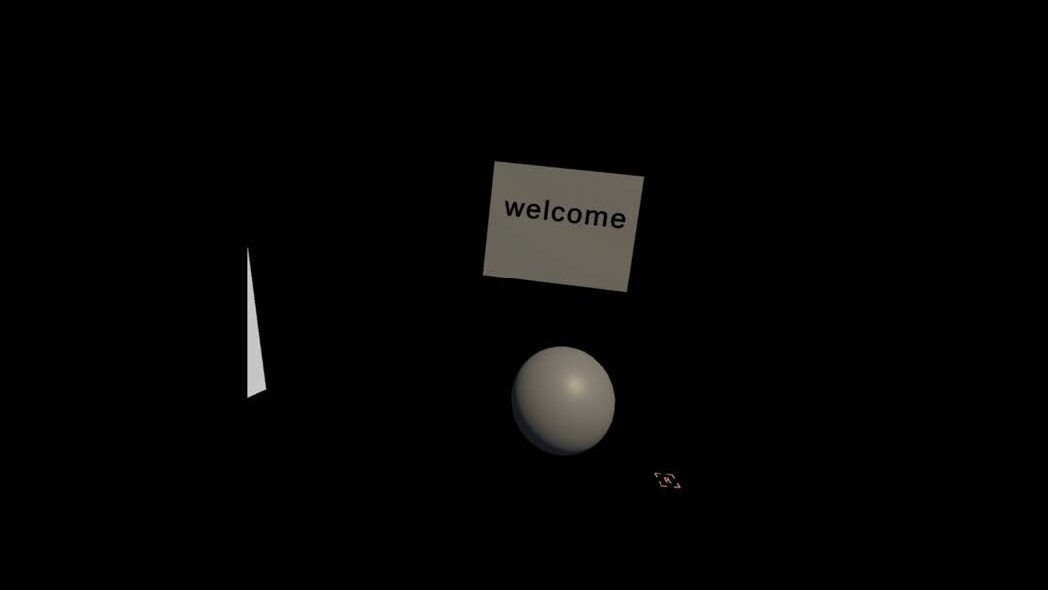
Interaction with proximity aims to involve spatial relationships within interaction design. This prototype involves walking towards an object, and something happening when you get close to it. In this example, when the designer walks towards the object in the scene, another object will appear.
Below are the steps for creating such a system:
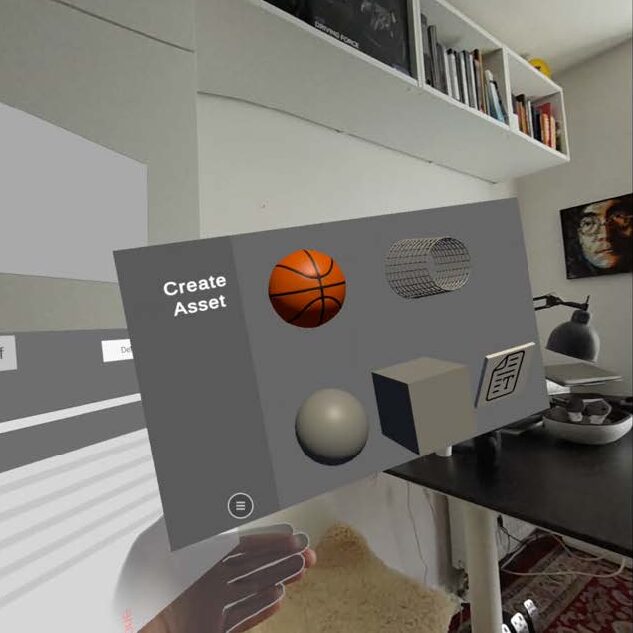
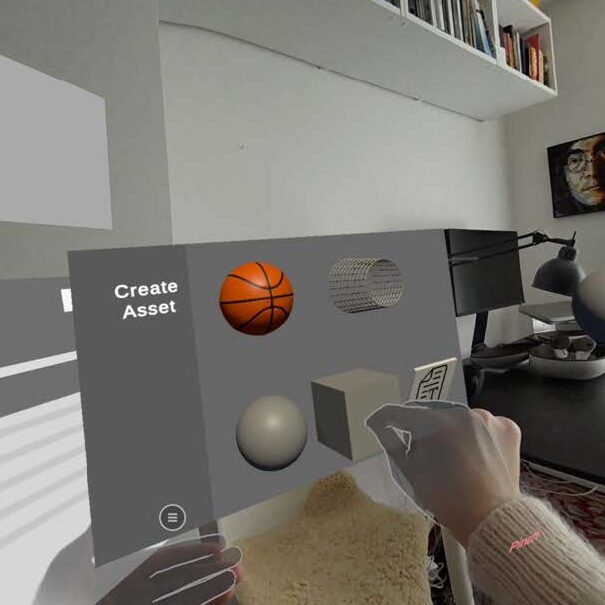
1. Create sphere from the asset menu.
2. Create text from the asset menu, saying “welcome”.
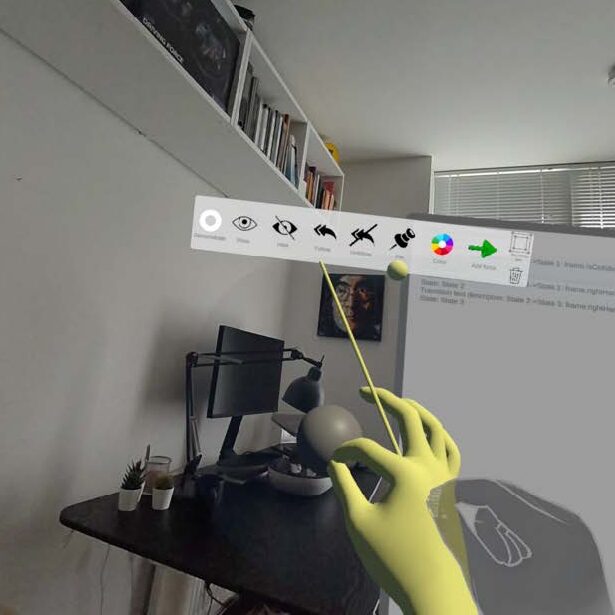
3. In the sphere’s object menu, choose the collider and adjust it the preferred size.
4. Press record.
5. Walk towards the sphere and intersect with the collider box.
6. Stop the recording.
7. In the timeline, go to the beginning and hide the text.
8. In the timeline, go to the collision between the designer and the collider box and make the text visible.
The finished prototype should have a collision box around the sphere object that makes a text object appear when collided with.
Gaze + pinch
This prototype uses two interactions in parallel.
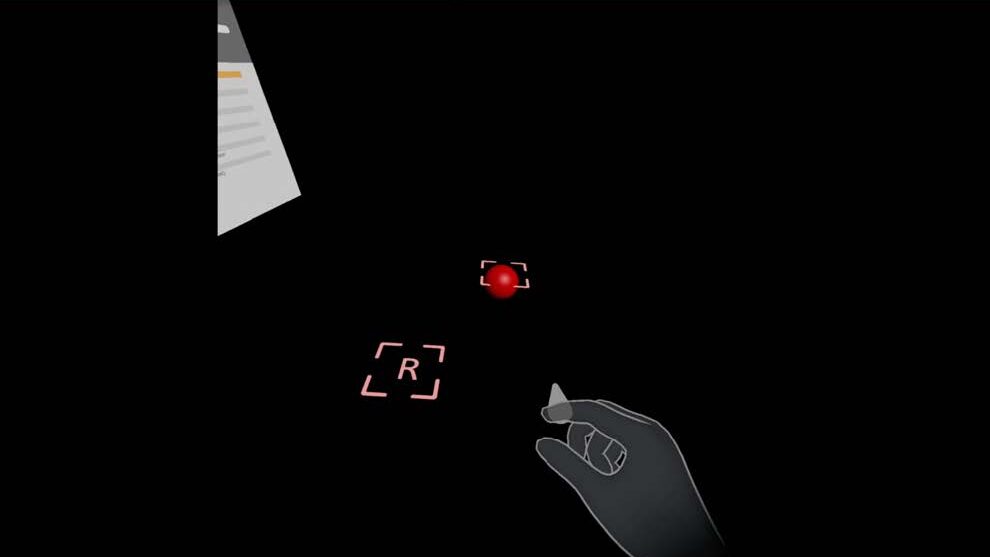
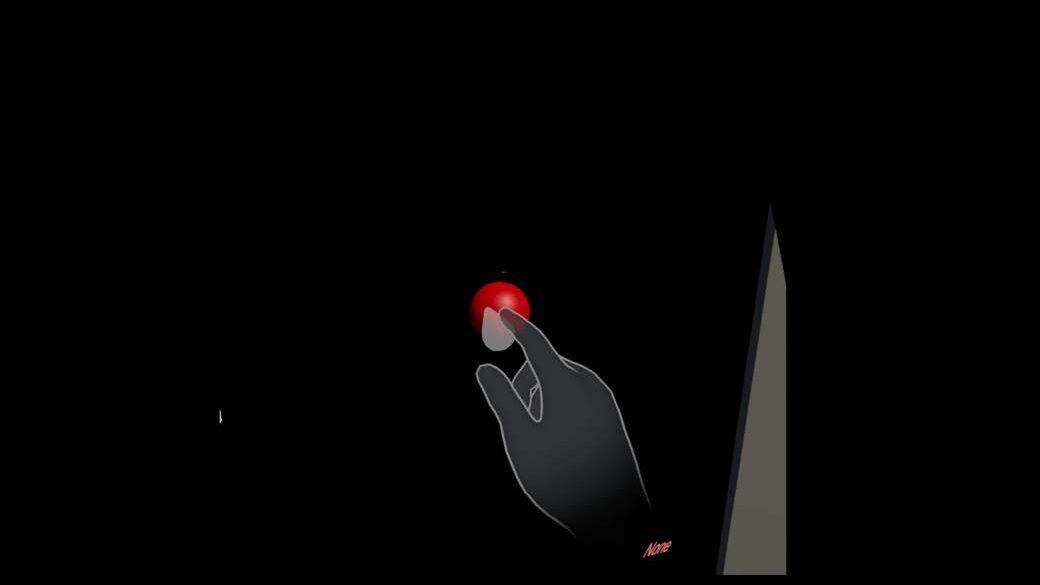
The designer looks at an object, and simultaneously does a pinch gesture to select the object.
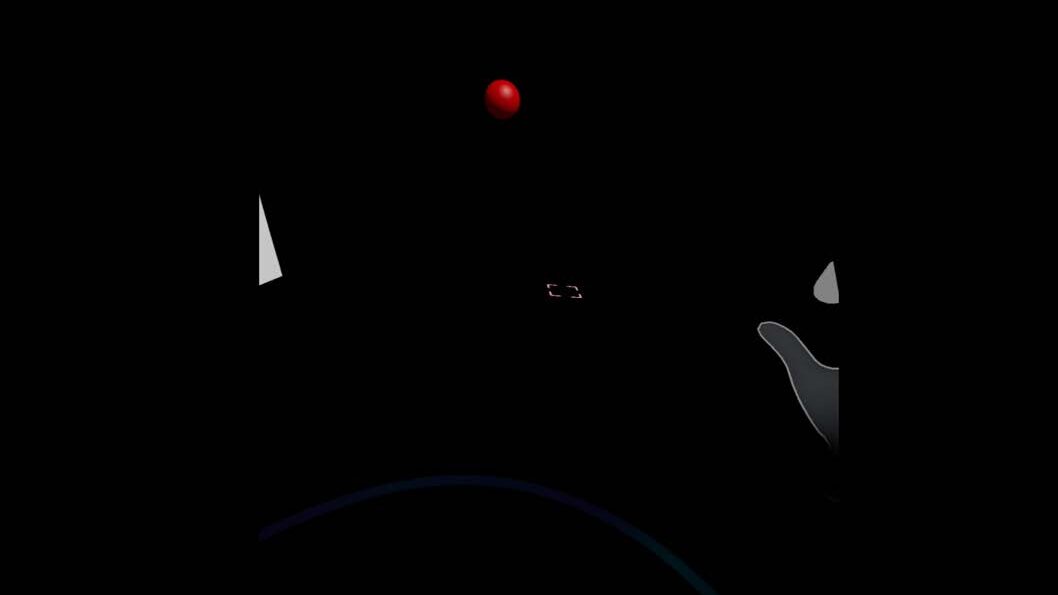
The designer will then do the “open” gesture to add force to the object.
The example can be summarised in the following steps:
1. Create sphere.
2. Press record.
3. Look at sphere and do a pinch gesture at the same time.
4. After a couple of seconds, do the open gesture.
5. End recording.
6. In the timeline, at the collision between the sphere and gaze (which is also the same
place as the pinch), change the color of the sphere.
7. In the timeline, at the open gesture, add force from the sphere’s menu.
8. Adjust the trajectory to go upwards.
In the finished prototype the designer selects the sphere with gaze and throws it with a gesture.
Speech
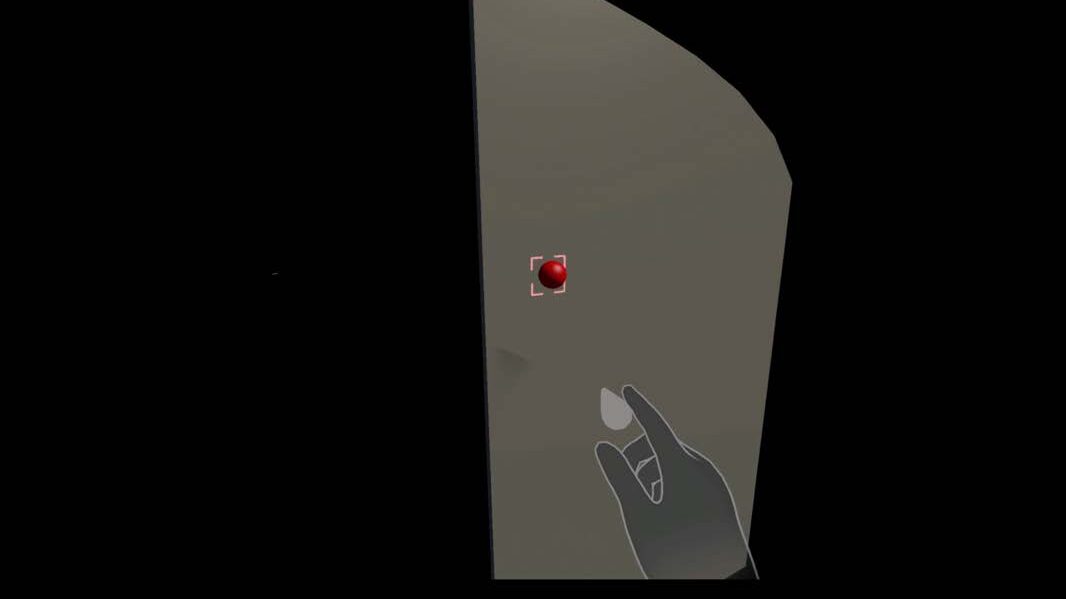
The system supports a use of pronouns as temporary variables that references the objects on the canvas, which enables the designer to replace the name of an object like “the yellow circle” with a pronoun such as “that”. This means that instead of saying “move the yellow circle there” the designer can simply say “put that there”. This prototype shows an example of moving an object by saying “put that there”.
Below are the steps for creating such a system:
1. Create sphere.
2. Press record.
3. Point at sphere.
4. Point to wall.
5. Stop recording.
6. Start recording, say “put that” when the ghost image of the hand points at the sphere, and stop recording.
7. Start recording, say “there” when the ghost hand points to the vertical canvas, and stop recording.
8. Change the color of sphere when the sphere is pointed to and referenced.
9. Pin sphere to the wall during the word “there”.
In the finished prototype the designer points to the sphere saying “put that” and then points to the vertical plane saying “there”.